


News


 电商部
电商部  2026-01-15 16:57:49
 How to Upgrade Your Desktop Computer Memory Module: A Step-by-Step Guide
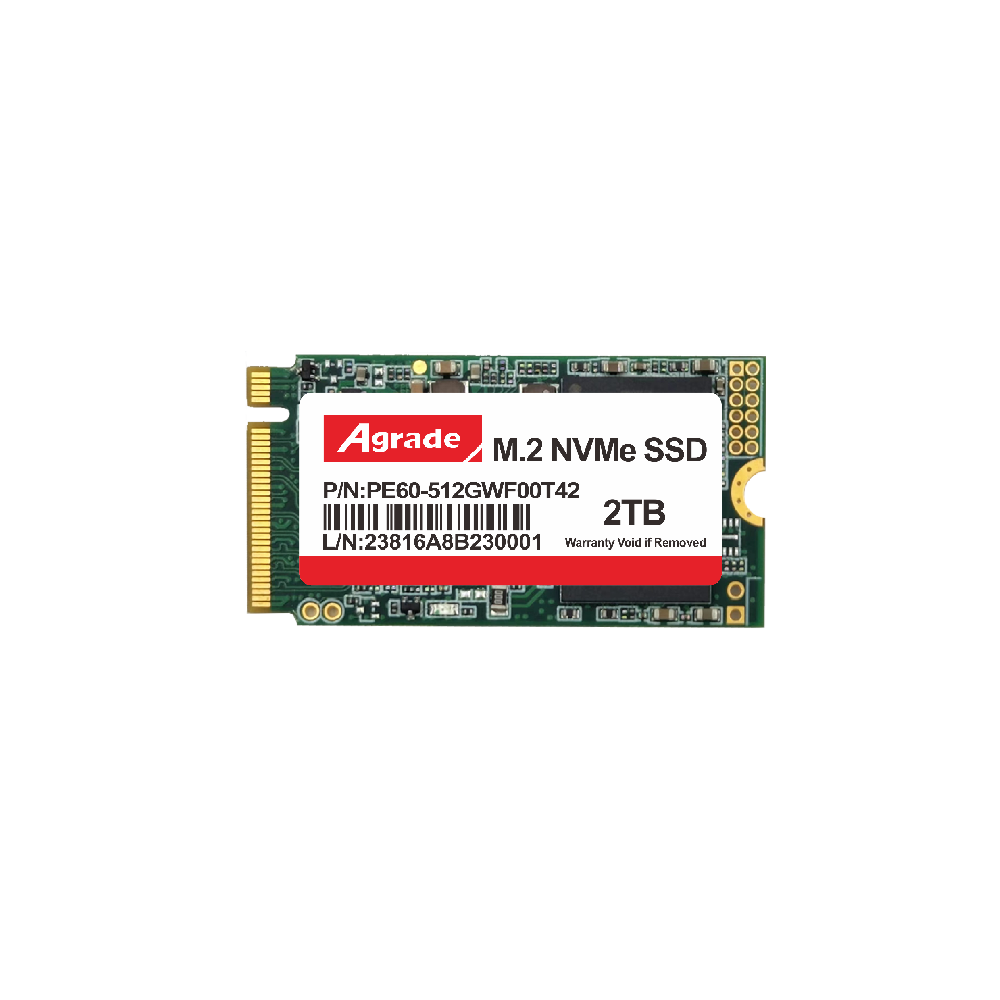
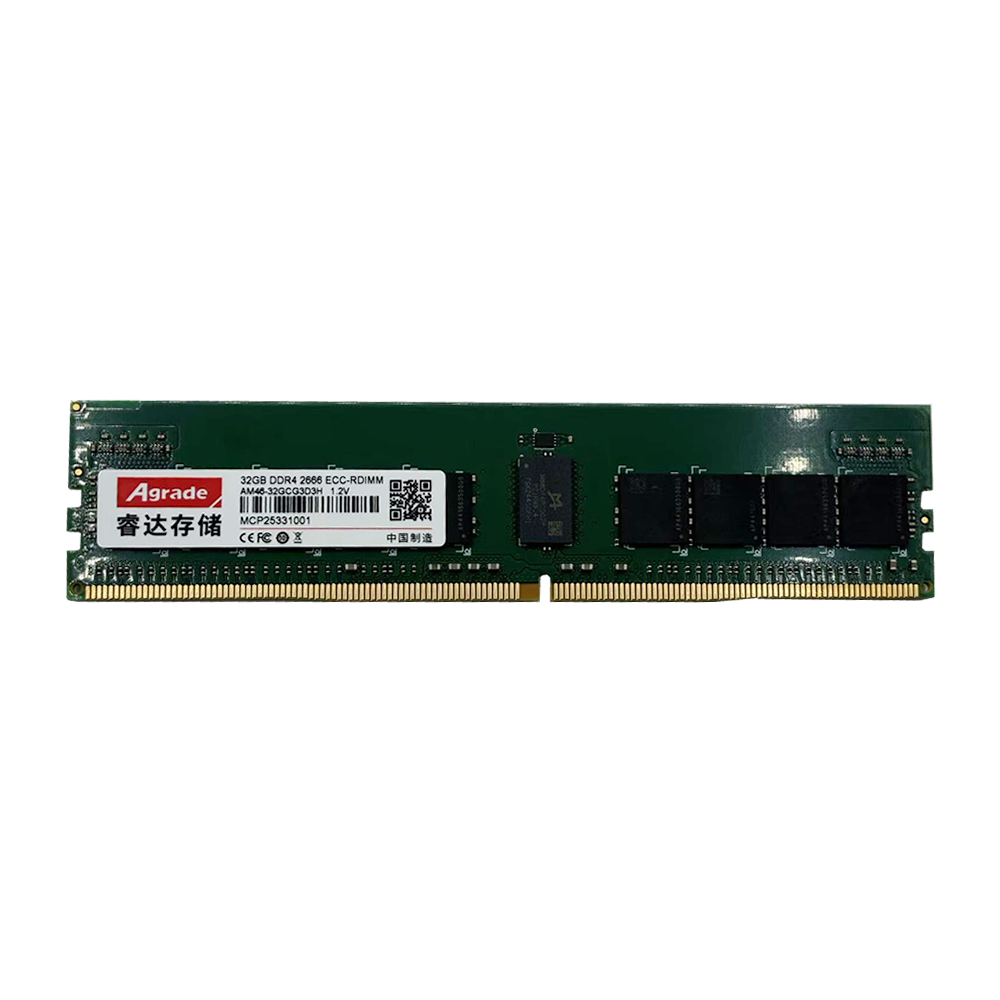
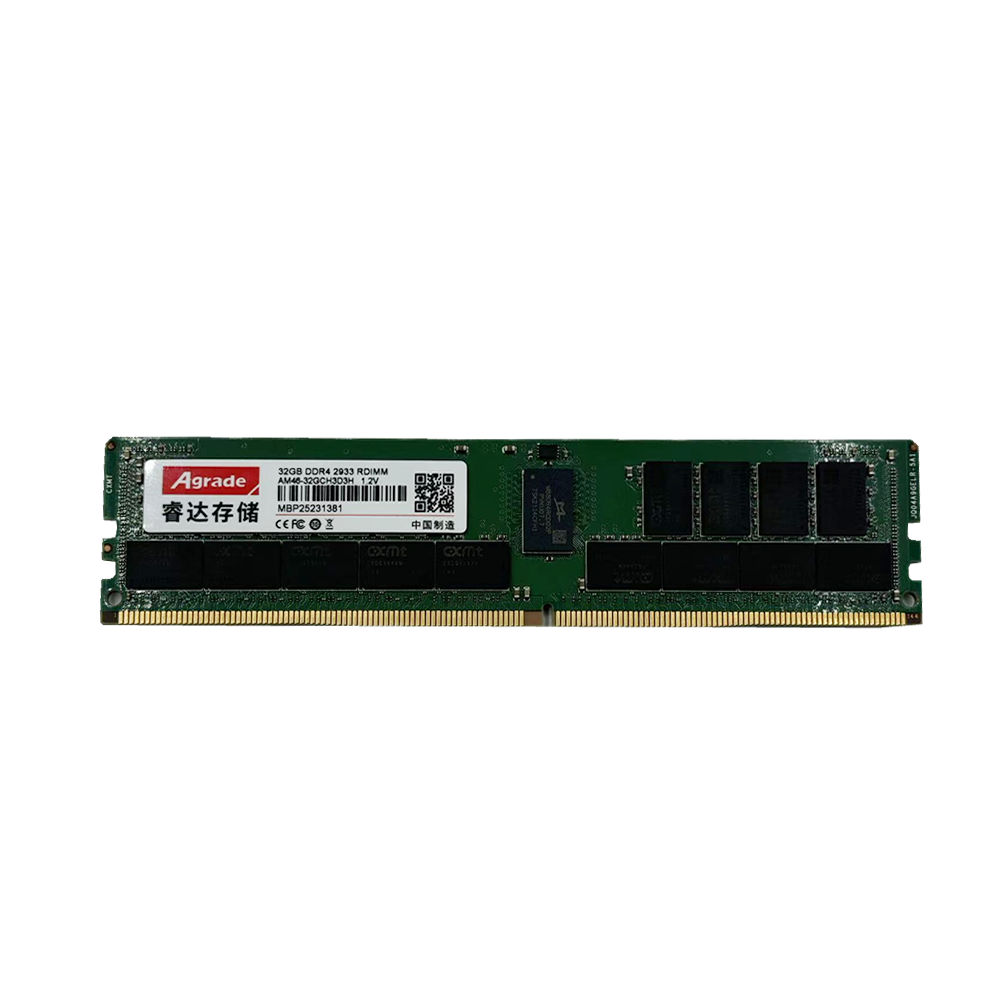
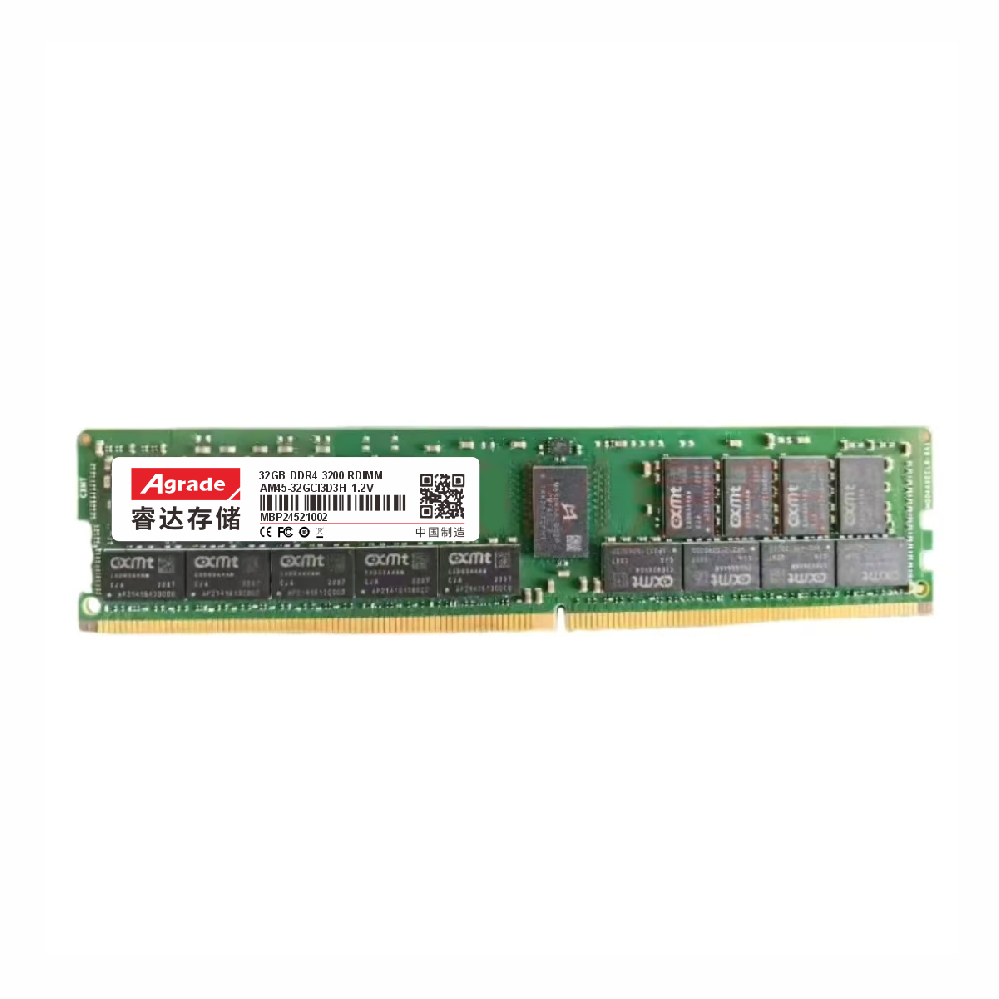
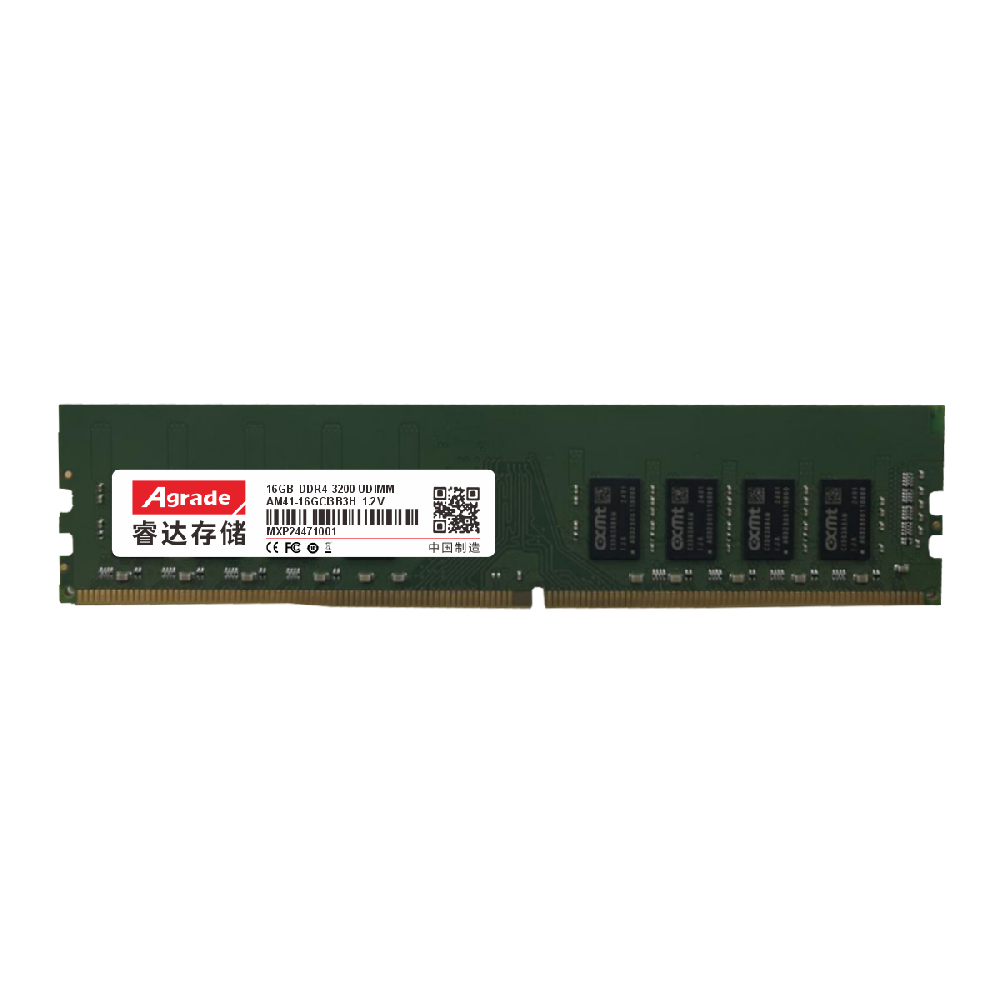
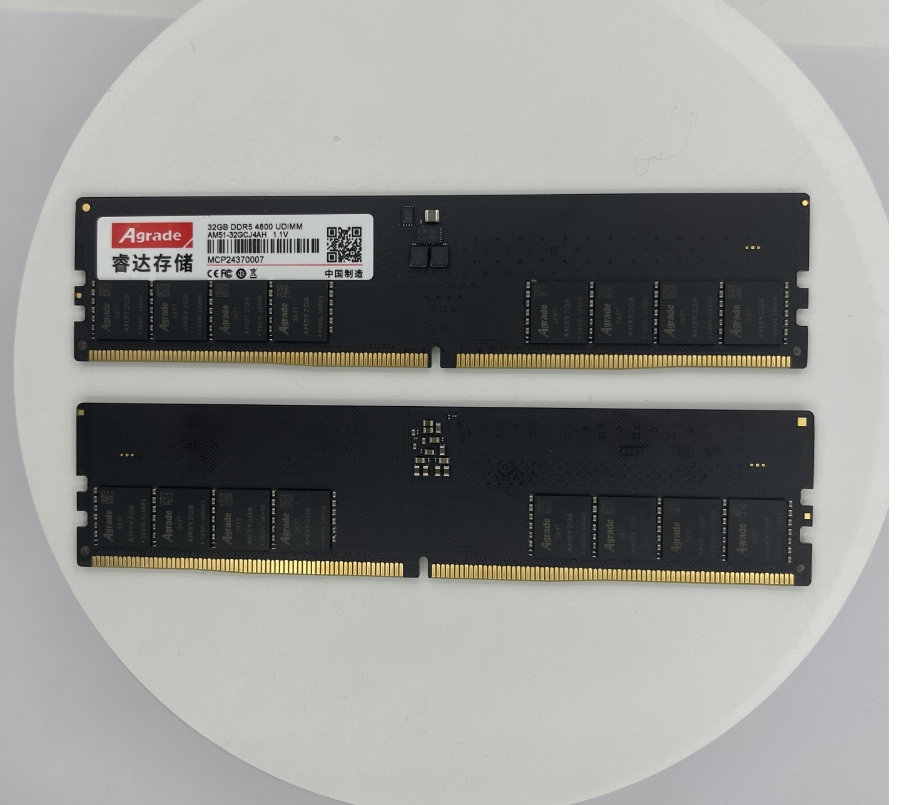
Upgrading your desktop computer memory module is a simple, cost-effective way to improve system performance, and it can be done by most users with basic tools and minimal technical knowledge. Before starting the upgrade, gather the necessary tools: a Phillips-head screwdriver to open the computer case, an anti-static wristband to prevent electrostatic discharge (ESD) damage, and the new memory modules. First, determine the type of memory your system supports—this is critical to avoid purchasing incompatible modules. Check your motherboard’s manual or use software like CPU-Z to identify the memory type (DDR4 or DDR5), supported clock speeds, maximum single-module capacity, and total system memory capacity. This step ensures you buy modules that will work seamlessly with your existing hardware.

Next, prepare your computer for the upgrade to minimize the risk of damage. Turn off the power completely, unplug all cables (power, USB, HDMI, etc.), and move the computer to a clean, flat surface with good lighting. Open the case by removing the screws on the side panel—most cases have 2-4 screws that can be removed by hand or with the screwdriver—and slide the panel off. Locate the DIMM slots on the motherboard; these are long, narrow slots near the CPU, usually with plastic clips on either end. Before handling the memory modules, put on the anti-static wristband and attach one end to a metal part of the case (like the frame) to discharge any static electricity, which can damage sensitive electronic components like memory modules and the motherboard.
If you’re replacing existing modules, remove them by pressing down firmly on the clips on either side of each DIMM slot—this will release the module, allowing you to pull it out gently at a slight angle. To insert the new desktop computer memory module, align the notch on the bottom of the module with the corresponding notch in the DIMM slot—this ensures the module is inserted correctly. Press down firmly on both ends of the module until you hear a click from both clips, which indicates the module is securely locked in place. Avoid applying excessive force, as this can damage the module or the slot. Replace the side panel, reconnect all cables in their original positions, and turn on your computer. The system should automatically detect the new memory; verify this by checking the system properties (on Windows) or About This Mac (on macOS), or use CPU-Z to confirm the capacity, speed, and latency of the new modules.

-
Products
Advantages
-
Solutions
-
News
About us
-
Contact us
Tel:+86 19926658803
Whatsapp:+86 19926658803
lianle1210@163.com
Address: 30CF, Caihong Building, Caihong Road, Futian District, Shenzhen City, Guangdong Province, China


Friendly Links:
