


News


 电商部
电商部  2026-03-12 16:20:41
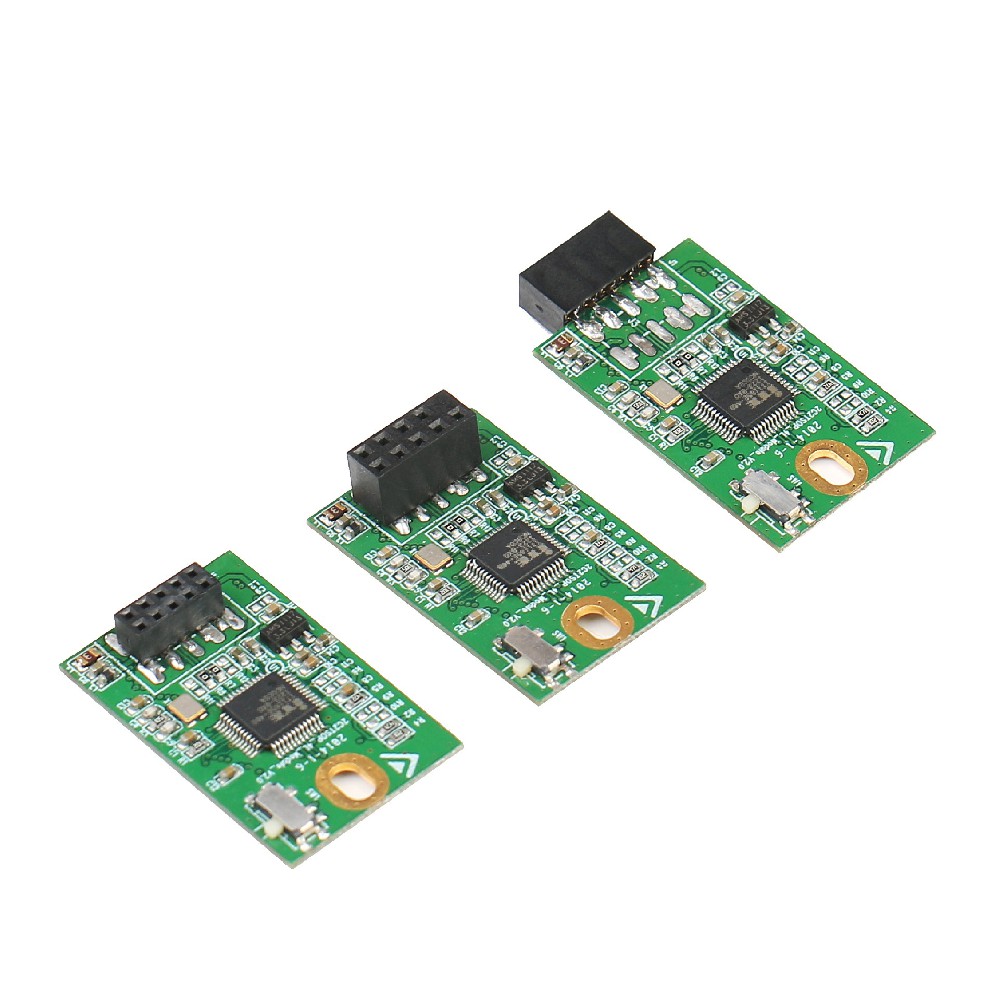
 Installing a Wide Temperature M.2 SATA SSD: Step-by-Step Guide
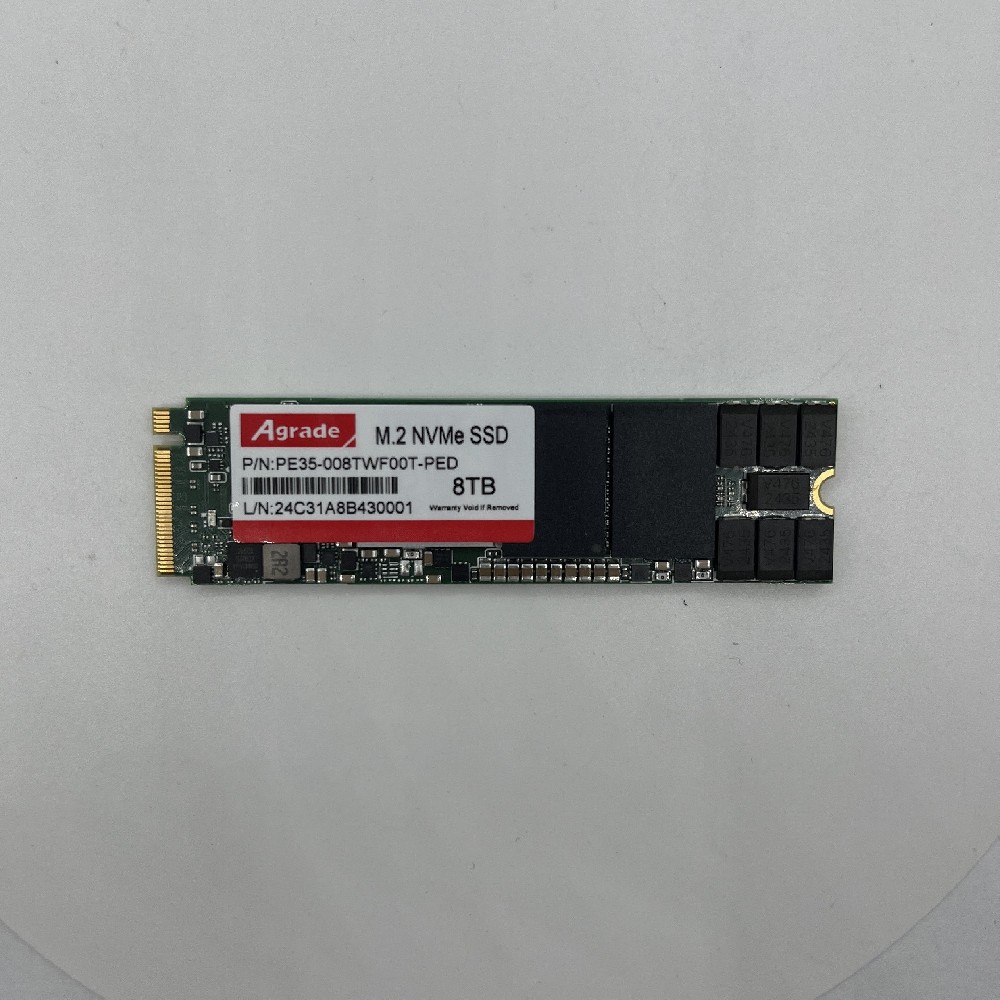
Installing a Wide Temperature M.2 SATA SSD is similar to installing a standard M.2 SATA SSD, but there are a few key considerations to ensure optimal performance and reliability—especially in extreme environments. This step-by-step guide walks you through the installation process, from preparation to testing, helping you avoid common mistakes and ensure your SSD works properly in your application.
Step 1: Prepare the necessary tools and equipment. You will need a screwdriver (typically Phillips-head), the wide temperature M.2 SATA SSD, the mounting screw (usually included with the SSD or your device’s motherboard), and anti-static gloves (to prevent electrostatic discharge, which can damage the SSD’s components). If your device is in an extreme environment (e.g., industrial cabinet or车载 system), you may also need防震垫片 to reduce vibration damage.

Step 2: Power off and disconnect your device. Before installing the SSD, turn off your device and disconnect all power sources (batteries, power cables) to avoid electrical damage. For industrial equipment or车载 systems, follow the manufacturer’s safety guidelines to ensure you do not damage other components. If working in a static-prone environment (e.g., dry industrial settings), touch a grounded metal surface to discharge static before handling the SSD.
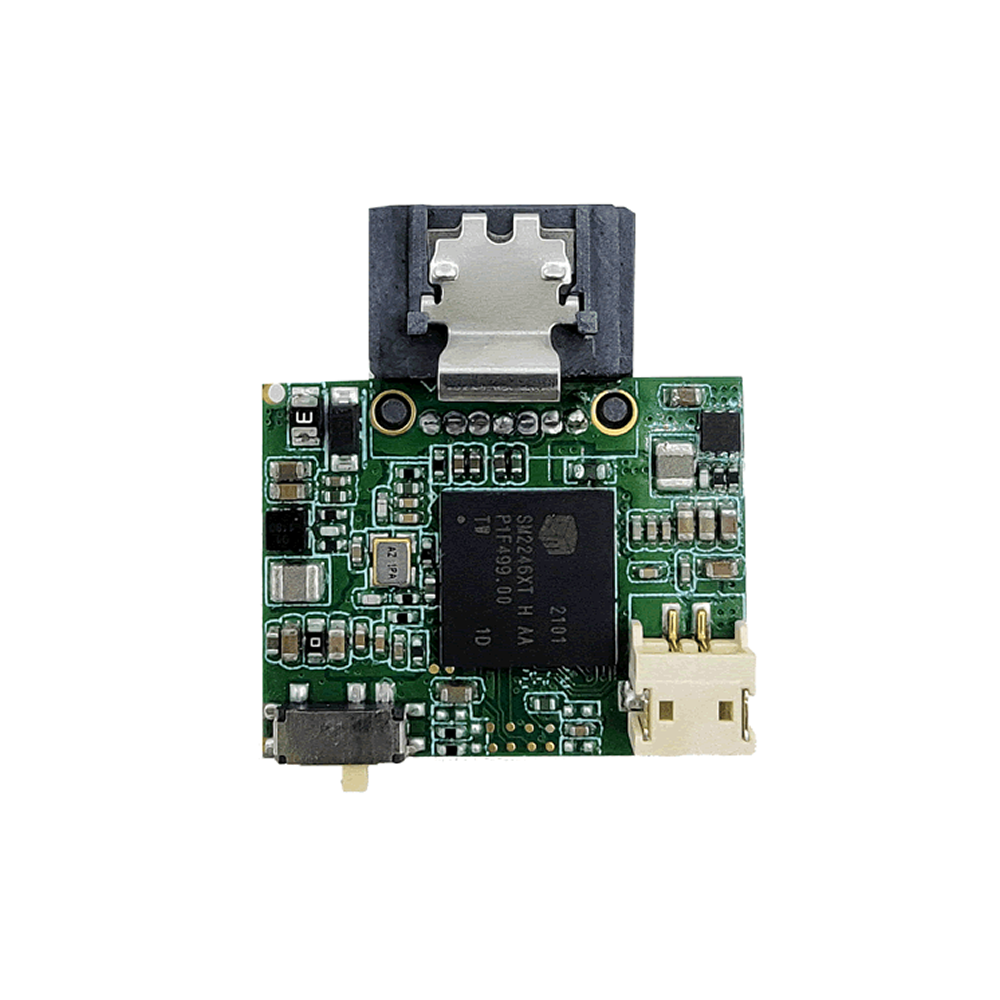
Step 3: Locate the M.2 slot on your device’s motherboard. M.2 slots are small, rectangular slots typically labeled “M.2” or “SATA.” Check your device’s manual to confirm the slot supports SATA protocol (look for “B-key” or “B+M-key” on the slot—M-key slots are for NVMe SSDs and will not work with SATA SSDs). Also, confirm the slot’s length (2242, 2260, 2280) to ensure it matches your SSD’s form factor.
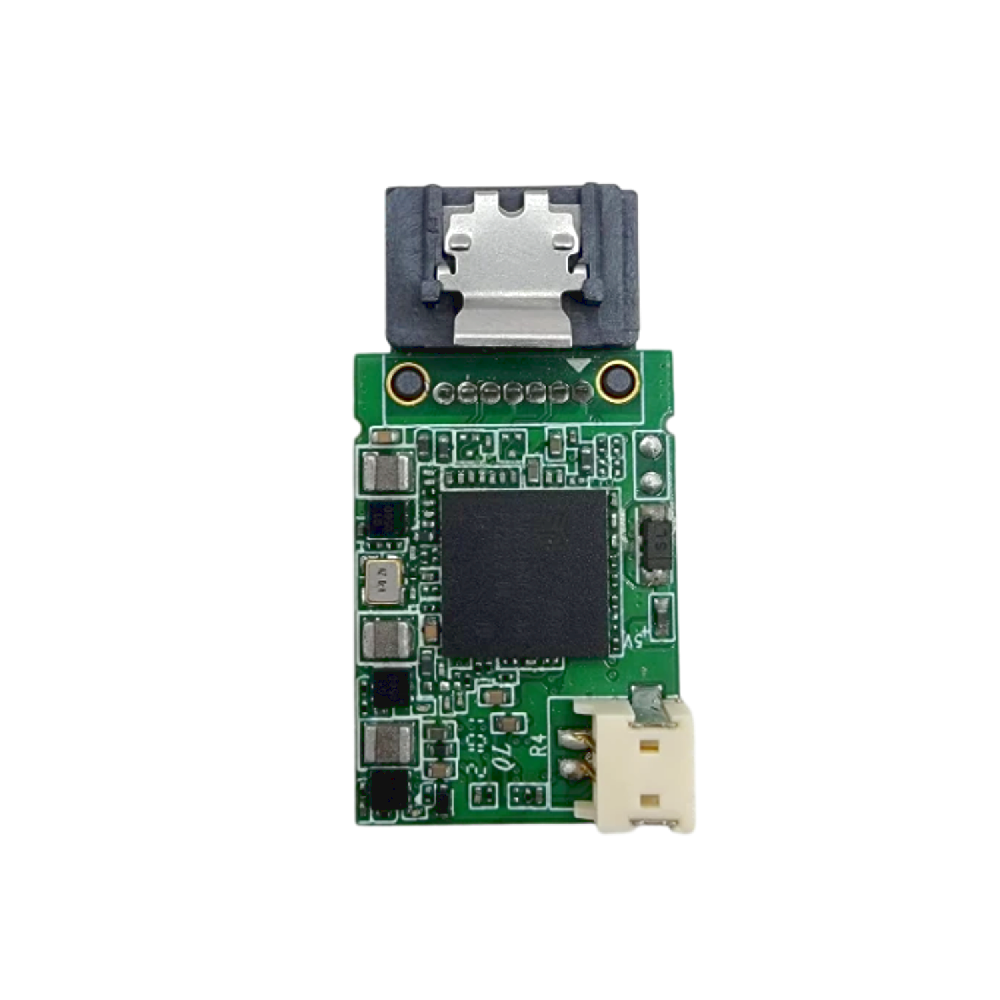
Step 4: Install the SSD. Hold the SSD by its edges (avoid touching the gold contacts or components) and align the gold contacts with the M.2 slot. Gently insert the SSD at a 30-degree angle until it clicks into place. Then, press the other end of the SSD down until it lies flat against the motherboard. Insert the mounting screw through the SSD’s mounting hole and tighten it to secure the SSD in place. Do not over-tighten the screw, as this can damage the PCB.
Step 5: Reconnect power and test the SSD. Reconnect all power sources and turn on your device. Check if the SSD is recognized by your system—you can do this by accessing the BIOS (or UEFI) and verifying that the SSD is listed under storage devices. If the SSD is not recognized, double-check the connection (ensure it is fully inserted and the screw is tight) and confirm the slot supports SATA protocol. Once recognized, format the SSD to the appropriate file system (e.g., NTFS for Windows, ext4 for Linux) and test read/write speeds to ensure it is performing correctly.
Step 6: Optimize for extreme environments. If your device is in a high-temperature environment, ensure the SSD has proper ventilation—avoid installing it next to other high-heat components (e.g., processors, power supplies). For vibration-prone applications (e.g., automotive, industrial robots), add防震垫片 between the SSD and motherboard to reduce damage. Additionally, update the SSD’s firmware to the latest version to ensure it has the latest temperature compensation and stability improvements.

-
Products
Advantages
-
Solutions
-
News
About us
-
Contact us
Tel:+86 19926658803
Whatsapp:+86 19926658803
lianle1210@163.com
Address: 30CF, Caihong Building, Caihong Road, Futian District, Shenzhen City, Guangdong Province, China


Friendly Links:
