


News


 电商部
电商部  2025-12-05 10:19:20
 How to Upgrade Your Laptop with an mSATA SSD (Step-by-Step 2025)
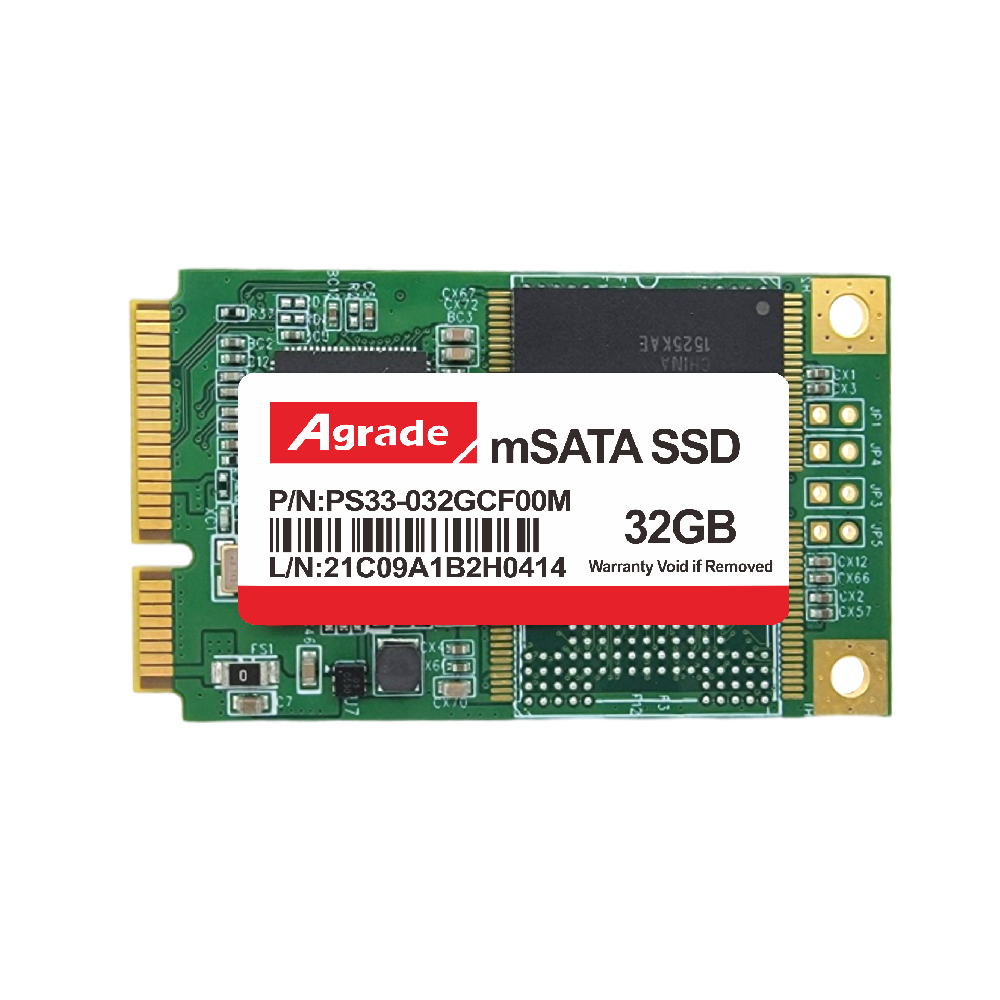
Upgrading your laptop with an mSATA SSD is one of the most impactful and cost-effective ways to revitalize aging hardware, turning a slow, laggy device into a responsive machine that boots quickly, loads applications in seconds, and handles multitasking with ease. Before you begin, however, it’s crucial to verify compatibility to avoid wasted time and money. Start by checking your laptop’s manual or the manufacturer’s website to confirm if it has an mSATA slot—these are most common in ultrabooks and thin-and-light laptops from 2010 to 2020 (brands like Dell XPS, Lenovo ThinkPad X Series, and HP EliteBook often include them). If you don’t have the manual, use a tool like CPU-Z or HWiNFO64 to scan your system’s hardware; look for “mSATA” or “PCIe Mini Card” under the “Storage” or “Motherboard” tabs. You should also confirm that your laptop’s BIOS supports 3D NAND mSATA SSDs—most modern BIOS versions do, but older laptops (pre-2013) may require a BIOS update to recognize the drive.

Once you’ve confirmed compatibility, gather the necessary tools: a small Phillips-head screwdriver (most laptops use #0 or #00 screws), an anti-static wristband (to prevent electrostatic discharge from damaging components), a USB flash drive (8GB+ for OS installation or cloning), and backup software (like Samsung Migration, Macrium Reflect, or Acronis True Image) to safeguard your data. Before opening your laptop, back up all important files—this includes documents, photos, videos, and application settings—to an external hard drive, cloud storage, or the USB flash drive. While the upgrade process is straightforward, there’s always a small risk of data loss if something goes wrong, so backups are non-negotiable.
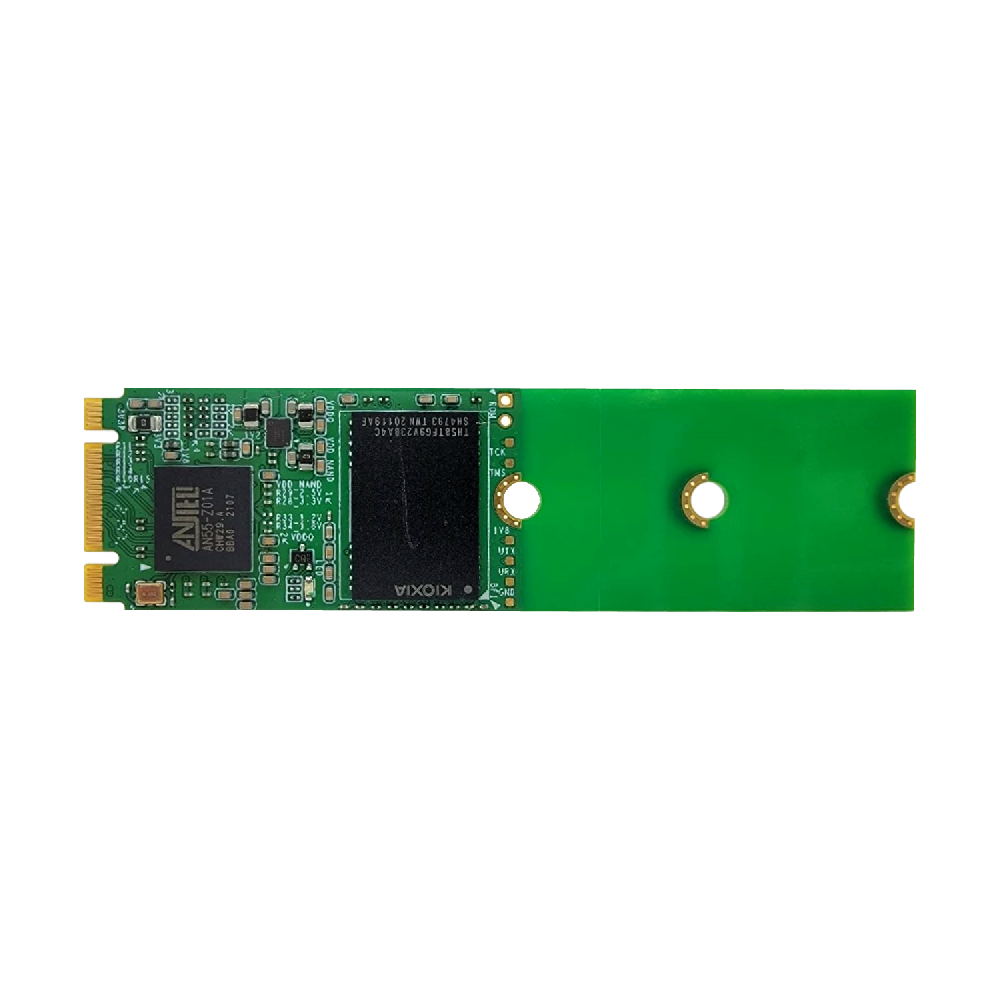
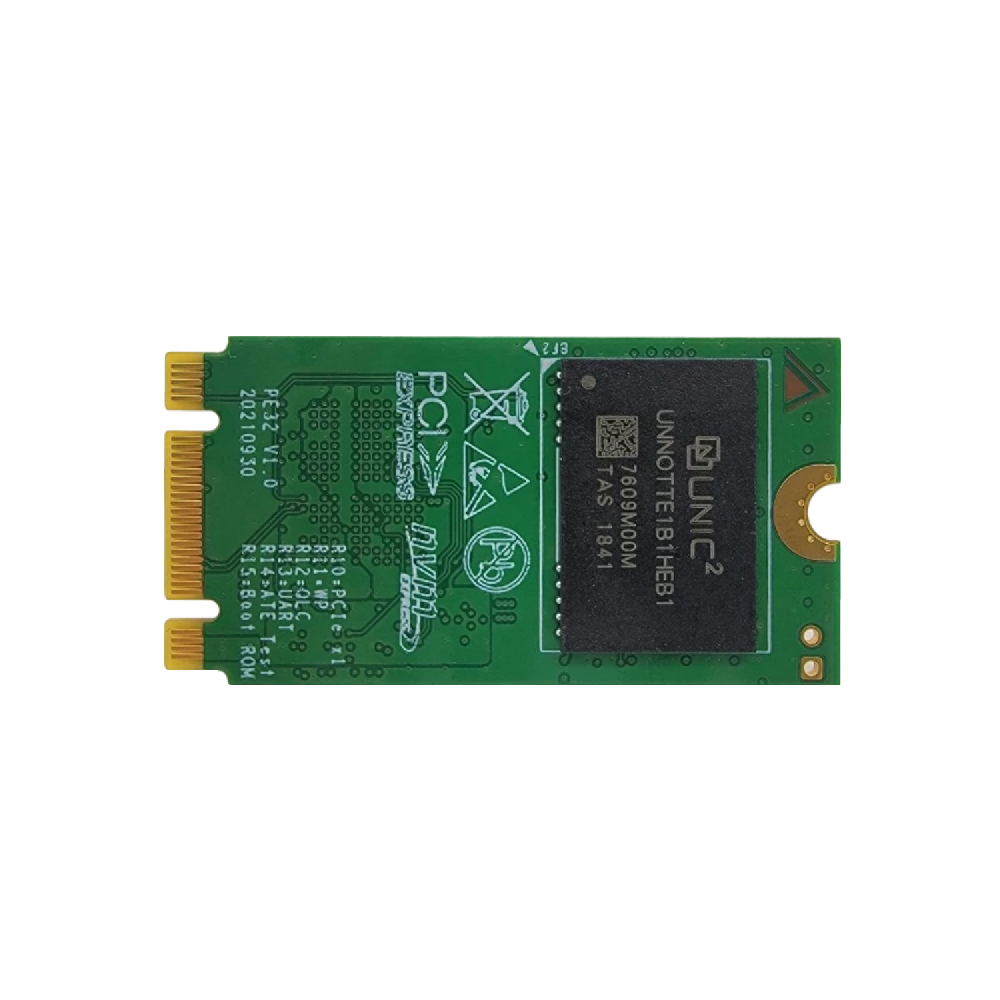
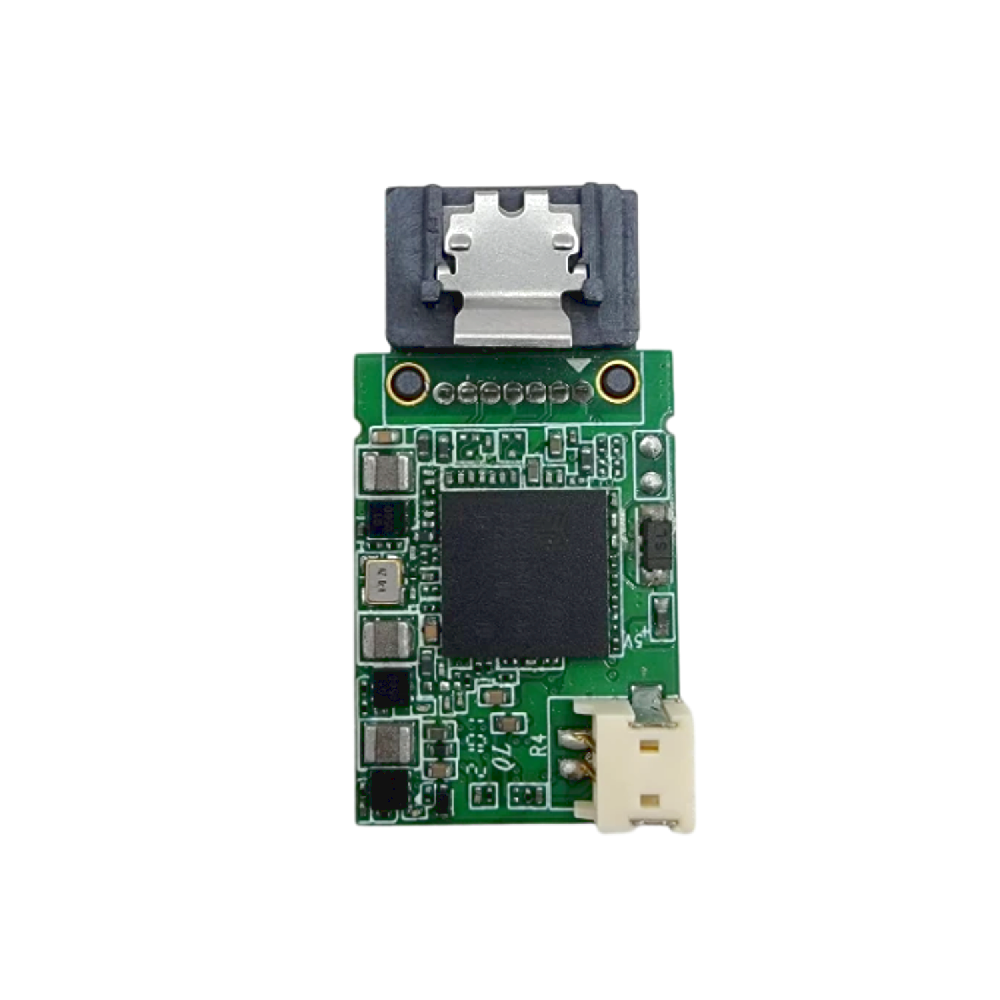
Next, power off your laptop, unplug the charger, and remove the battery (if it’s removable). Put on the anti-static wristband and attach it to a metal part of the laptop (like a screw or the chassis) to discharge any static electricity. Lay the laptop upside down on a soft, clean surface (a towel or mouse pad works well) to avoid scratching the case. Remove the screws securing the bottom panel—some laptops have hidden screws under rubber feet or warranty stickers, so use a plastic pry tool to gently lift the panel once all screws are removed. Locate the mSATA slot: it’s typically a small, rectangular slot labeled “mSATA” or “SSD,” often near the RAM modules or battery connector. Insert the mSATA SSD into the slot at a 45° angle, ensuring the pins align with the slot. Press down on the drive until it clicks into place, then secure it with the provided screw (most mSATA SSDs come with a mounting screw, but some laptops require a specific size—check your manual if unsure). This screw prevents the drive from vibrating or becoming dislodged during use, so don’t skip this step.
Now it’s time to install your operating system (OS) or migrate your existing one. If you want to keep your current OS, applications, and files, use a cloning tool: connect the USB flash drive with the cloning software to your laptop, boot from the flash drive, and follow the on-screen instructions to clone your old HDD/SSD to the new mSATA SSD. This process typically takes 30-60 minutes, depending on the amount of data. If you prefer a fresh OS installation, create a bootable USB drive with Windows 11, macOS, or Linux (using tools like Rufus or BalenaEtcher), insert it into your laptop, and boot from the USB drive. During installation, select the mSATA SSD as the target drive and follow the prompts to set up your OS. Once the OS is installed, your laptop will boot in 10-15 seconds—3x faster than a traditional HDD.
Post-installation, there are a few steps to optimize performance. First, enable TRIM, a feature that helps maintain SSD performance over time by deleting unused data blocks. On Windows, open Command Prompt as an administrator and type “fsutil behavior set DisableDeleteNotify 0” (press Enter). On macOS, open Terminal and type “sudo trimforce enable” (press Enter, then enter your password). Next, update your laptop’s BIOS and the mSATA SSD’s firmware—manufacturers often release updates that improve compatibility, performance, and reliability. You can find BIOS updates on your laptop manufacturer’s website and SSD firmware updates on the SSD brand’s website (e.g., Kingston, Samsung, Crucial). Finally, test the drive’s speed with a tool like CrystalDiskMark (Windows) or BlackMagic Disk Speed Test (macOS). Aim for sequential read speeds of 500+ MB/s and write speeds of 450+ MB/s—if your speeds are lower, double-check that your laptop is using SATA III (6Gbps) mode (you can adjust this in the BIOS) and that the drive is properly secured.
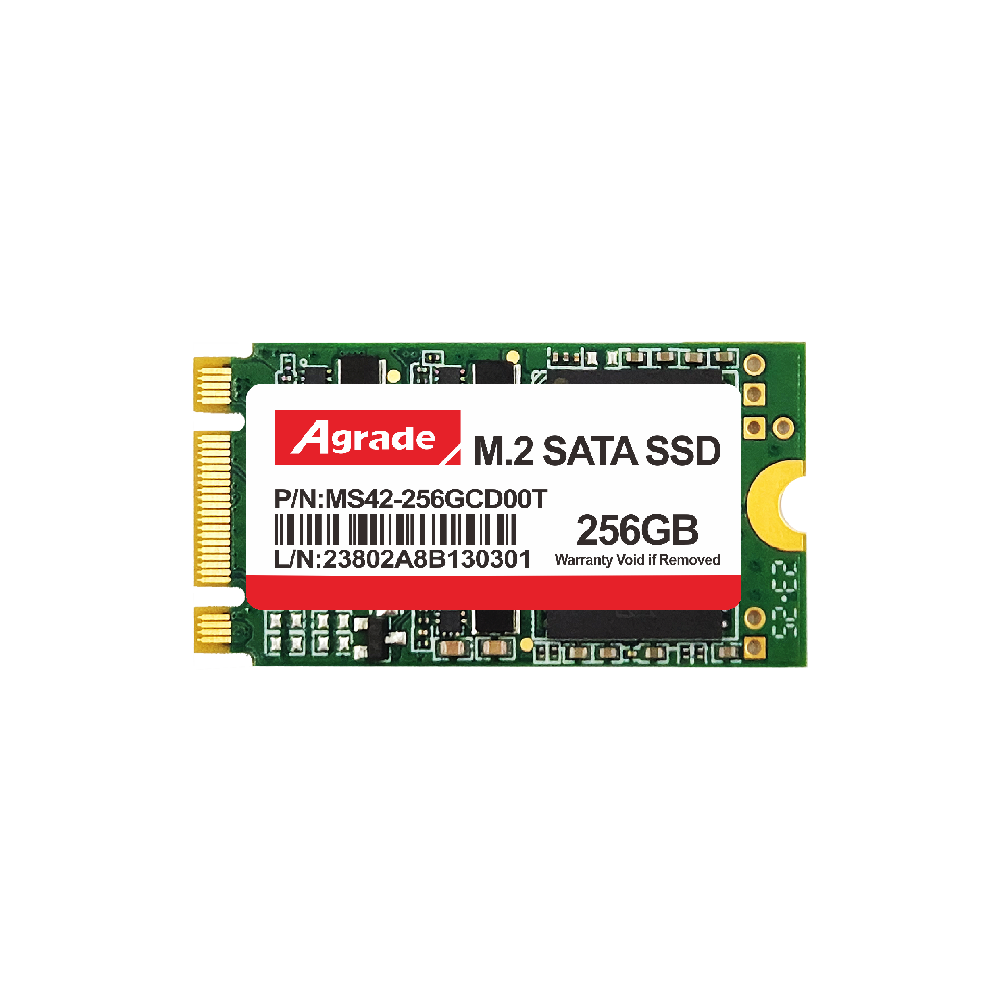
With a 5-year warranty (standard for top mSATA SSD brands like Kingston, Samsung, and Crucial), this $50-$100 upgrade can extend your laptop’s lifespan by 2-3 years, saving you the cost of buying a new device. Whether you’re a student, professional, or casual user, upgrading to an mSATA SSD is a simple, effective way to breathe new life into your laptop.

-
Products
Advantages
-
Solutions
-
News
About us
-
Contact us
Tel:+86 19926658803
Whatsapp:+86 19926658803
lianle1210@163.com
Address: 30CF, Caihong Building, Caihong Road, Futian District, Shenzhen City, Guangdong Province, China


Friendly Links:
